Azusa Miura (Forever Star)
I was inspired to do the Forever Star version after seeing my friends from Angel Hearts pull off their own version of it. It was like making the Eternal Sailor Senshi uniform again, but idol style. I really liked the design and I also like that it’s recognizable since it one of the newer DLC’s and it’s been showing up in newer figures and promo art.
I started on this in early November. I knew I had to use the casa glitter satin for the skirt. I’ve had a lot of luck using casa glitter for Panty and Kaleido Ruby. The main skirt fabric is “radiant blue” from the glitter casa collection. I believe the blue that I used for custom bias is cobalt also from the regular casa collection.
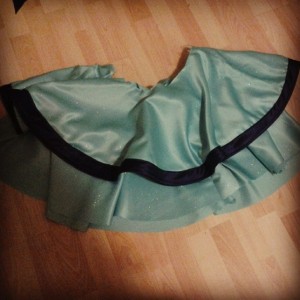
I used the same pattern for the Eternal Sailor Senshi skirt. It’s the same ice skating circle skirt. I extended the underskirt by a couple of inches. I made a mistake and sewed all the sides together instead of sewing just one side. Everything was already overlocked before I could get my seam ripper. Ah well, it happens. Ever been on a sewing machine while your brain is on auto pilot?
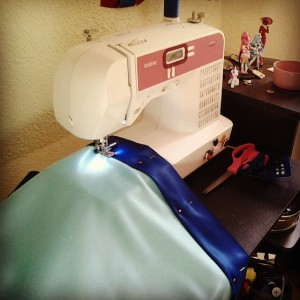
The bias for the skirt was made of 6 inch strips of cobalt casa satin. The strips are then pieced together and folded in half. Ironing helps keep the fold crease (and a nice finish!). I didn’t top stitch after ironing, instead I top stitched directly on the skirt (see photo above). Raw edges were in line with the hem.
After adding the bias, I added horsehair braid for the hem. My colleagues at Angel Hearts also used horsehair braid to enhance the skirts. Because it worked so well for my Eternal Sailor Senshi projects (all three of them), I decided to use it here.
Creating custom bias (that will match the blouse) and adding horsehair is very time consuming, but with the right patience, comes an amazing skirt! I still need to collect more horsehair braid for the bottom skirt. I’m still debating how much should I charge should I commission Forever Star because I can already hear the requests for commissions since the skirt alone takes a lot of time because of the bias and horsehair braid.
The skirt is on an elastic waistband. Remember when I made the mistake of sewing both sides together? Don’t do it, man! Just sew one side so it’s an easy exit for your elastic.
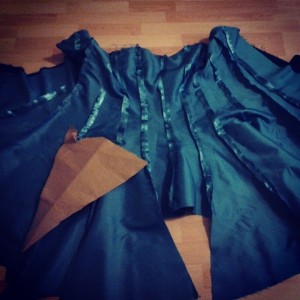
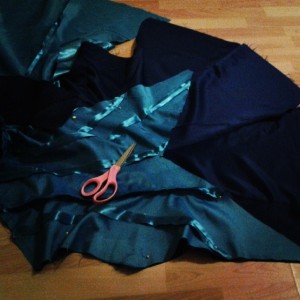
These are photos from the bodice top. I basically cut fabric from a flared dress pattern. The triangle on the bodice is seamless, that’s why I went for a flared dress pattern. I made a pattern from a Trader Joe’s bag for the triangle and “drafted” it onto the lining. This was pretty interesting to do. The triangles may look longer than they should, but I’m also accounting for poof from the skirt.
The triangle pattern is an isosceles triangle – the sides are about 15 inches before being stitched together.
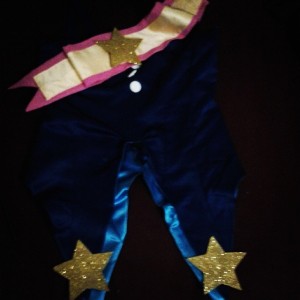
I also made the bicep cuffs. As you can see, I used leftover fabric from the custom bias. I took leftover poly cotton and machine gathered it. Not pictured, but I also finished the sash.
This is the finished top. It was a real challenge to pattern draft the top. I followed a no-waist-seam pattern for a dress. I cut it out as if I was making the full dress (up for a certain point) and I determined where to cut it to make the triangles. I don’t see myself commissioning this in the future only because it’s a very specific design.
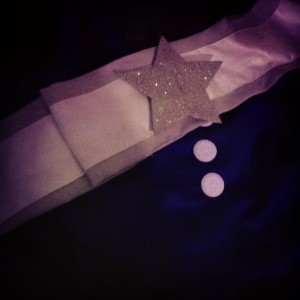
The stars are craft foam from Michael’s. The sash is from leftovers from Kokoro. The buttons were originally from Zatanna.
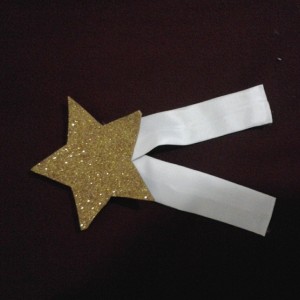
The star for the hair piece is made out of two bias strips sewn together with a clip in the back.

